Crafting Romance: A Guide to Valentine’s Day Laser Cut Cutting Boards and 3D Decorative Designs
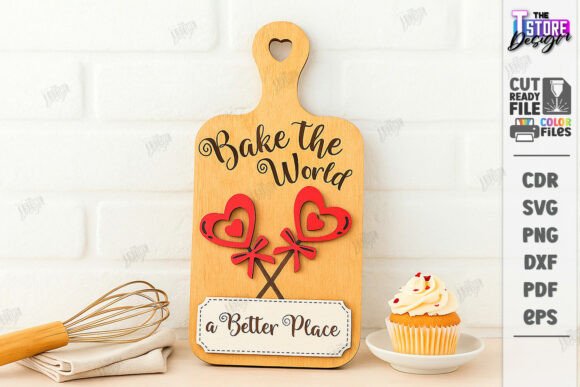
Valentine’s Day is traditionally associated with chocolates, flowers, and greeting cards. However, in recent years, there has been a significant shift toward personalized, handmade gifts that carry emotional weight and practical utility. Among the most popular trends in the DIY and maker community is the creation of Valentine’s Day mini cutting boards featuring intricate laser-cut designs. These items serve a dual purpose: they are functional kitchen tools and beautiful pieces of home décor that celebrate love.
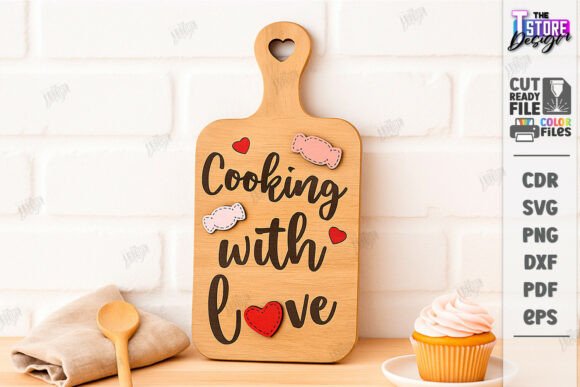
For those interested in digital fabrication, understanding how to utilize files like the Valentine’s Day Board Laser Cut Recipe for Love SVG is essential. This guide explores the process, significance, and technical considerations of creating these 3D decorative boards, helping both beginners and experienced crafters produce high-quality results.
The Rise of Personalized Kitchen Décor
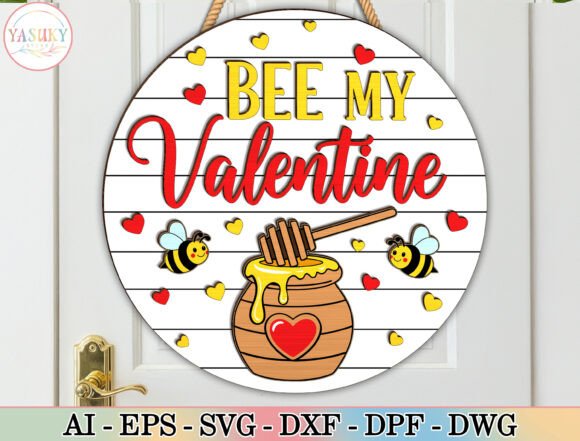
In modern interior design, the kitchen has evolved from a purely utilitarian space into a central hub for family interaction and creative expression. As a result, homeowners are increasingly looking for ways to infuse personality into this room. A laser-cut cutting board is not merely a surface for chopping vegetables; it is a statement piece. When designed with themes of love and affection, such as hearts, intertwined initials, or romantic quotes, it becomes a sentimental keepsake.
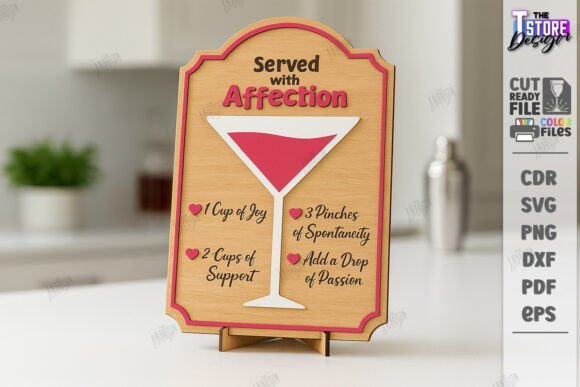
The appeal of these items lies in their customization. Unlike mass-produced goods found in big-box stores, a laser-cut board can be tailored to specific tastes. Whether it is a minimalist geometric heart or an elaborate "Recipe for Love" script, the ability to customize the design ensures that the gift feels unique and thoughtful. This aligns with the broader consumer trend valuing authenticity and craftsmanship over convenience.
Understanding the Digital Files: SVG, DXF, and More
To create these intricate designs, one must start with the right digital assets. The product described typically includes a zip archive containing multiple file formats: SVG, EPS, PNG, PDF, and DXF. Each format serves a specific purpose in the workflow of digital fabrication.
- SVG (Scalable Vector Graphics): This is the most common format for web-based design software and many consumer-level laser cutters. It allows for infinite scaling without loss of quality.
- DXF (Drawing Exchange Format): Often preferred by professional CAD users and specific laser software like LightBurn. It provides precise geometric data.
- PNG (Portable Network Graphics): A raster image format useful for previewing the design or using with print-on-demand services, though not suitable for direct cutting paths.
- EPS and PDF: These are versatile vector formats compatible with Adobe Illustrator and other professional graphic design tools.
Having access to multiple formats ensures compatibility with various machines and software ecosystems. It empowers the creator to choose the best tool for their specific hardware setup, reducing frustration and technical errors during the production phase.
Navigating Software Compatibility Issues
One of the most critical aspects of working with laser cut files is understanding how different software interprets them. A common issue arises when using LightBurn, a popular software interface for laser cutters. Users often report that LightBurn can sometimes distort the dimensions of files, particularly when importing SVG formats. This distortion can lead to parts that do not fit together correctly, ruining the final assembly of a 3D decorative board.
To mitigate this risk, it is highly recommended to use the DXF file format when working with LightBurn. DXF files tend to maintain stricter dimensional accuracy, ensuring that the cut lines match the intended design specifications. This technical nuance highlights the importance of testing files before committing to expensive materials. Always verify the scale and dimensions in your software before sending the job to the laser cutter.
The Design Logic: Red for Cut, Black for Engrave
A standard convention in laser cutting files is the use of color coding to distinguish between different operations. In the provided Valentine’s Day design files, you will notice a clear distinction:
- Red Lines: These indicate where the laser should cut through the material completely. This is used for the outer shape of the board and any internal cutouts that create the 3D effect.
- Black Lines: These indicate where the laser should engrave or etch the surface. This is typically used for text, detailed patterns, or shading that adds depth without cutting through the wood.
Understanding this color-coding system is vital for setting up your machine parameters correctly. Most laser software allows users to assign different power and speed settings to different colors. For example, cutting requires higher power and slower speed, while engraving requires lower power and faster speed. Misinterpreting these lines can result in a board that is either burned beyond recognition or not cut through properly.
Practical Applications and Creative Ideas
While the primary function of a cutting board is food preparation, these laser-cut designs often lean more towards decorative use. Here are several ways to utilize your finished project:
- Serving Platter: Use the mini board to serve cheeses, charcuterie, or desserts. The intricate cutouts add visual interest to food presentation.
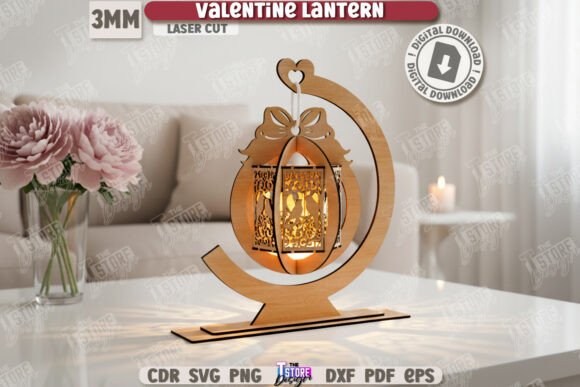
- Wall Art: Mount the board on a wall as a unique piece of kitchen décor. The 3D elements cast shadows that change throughout the day, adding dynamic visual texture.
- Gift Tag or Ornament: If scaled down, the design can serve as a large, reusable gift tag for Valentine’s presents.
- Photography Prop: Bloggers and social media influencers can use these boards as stylish backdrops for food photography, enhancing the aesthetic appeal of their content.
It is important to note that if the board is intended for actual food contact, you must use food-safe finishes such as mineral oil or beeswax. Additionally, ensure that the wood species chosen is non-toxic and suitable for kitchen use. Avoid woods with high resin content or known allergens.
Troubleshooting and Customization Support
Even with high-quality files, challenges can arise. Materials vary in density and moisture content, which can affect cutting performance. If you find that the red cut lines are not penetrating fully, you may need to adjust your laser’s power settings or perform multiple passes. Conversely, if the black engrave lines are too dark or burnt, reduce the power or increase the speed.
Furthermore, customization is key to making the gift special. If you require a different size or a specific color variation for the PNG preview files, do not hesitate to reach out to the designer. Many creators are willing to assist with minor adjustments to ensure customer satisfaction. Clear communication can prevent misunderstandings and ensure that the final product meets your expectations.
Conclusion: Celebrating Love Through Craft
The Valentine’s Day Mini Cutting Board Laser Cut Design represents a perfect blend of technology and tradition. It allows individuals to express affection through tangible, handcrafted items that stand the test of time. By understanding the technical requirements—such as using DXF files for LightBurn and respecting the red/black line conventions—crafters can avoid common pitfalls and produce professional-quality results.
Whether you are a seasoned maker or a beginner exploring the world of laser cutting, this project offers a rewarding experience. It encourages creativity, technical learning, and the joy of giving. As you embark on this project, remember that the value lies not just in the final object, but in the care and effort invested in its creation. For more inspiration and future releases, consider following the designer’s shop to stay updated on new seasonal designs and creative resources.
Explore more Valentine’s Day laser cut designs to find the perfect pattern for your next project. Happy crafting!