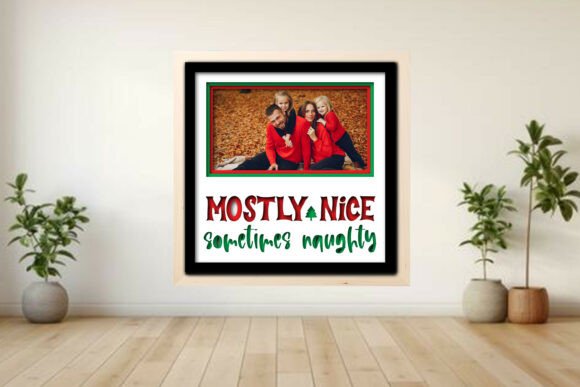
Mastering the Mostly Nice Naughty Photo Frame Shadow for Professional Results
Crafting holiday decor that balances charm with personality requires more than just a laser cutter and a sheet of plywood. The Mostly Nice Naughty - Photo Frame Shadow project offers a delightful way to display memories from Christmases past, combining whimsical text with a layered 3D aesthetic. Whether you are using a Glowforge®, xTool®, OMTech, or a desktop cutter like Cricut® or Silhouette®, this design provides a versatile canvas for creativity. However, achieving a polished, professional finish involves navigating several common pitfalls that can compromise the structural integrity and visual appeal of your final piece.
Many creators rush into cutting without fully understanding the nuances of layered shadow box construction. This often leads to misaligned layers, weak joints, or finishes that look amateurish. By understanding the technical requirements and design logic behind this specific project, you can avoid wasted materials and ensure your holiday decor stands out for all the right reasons.
Understanding Material Compatibility and Thickness
One of the most frequent errors occurs when users assume that any 3 mm plywood will behave identically across different machines. The Mostly Nice Naughty - Photo Frame Shadow is designed with precise tolerances for layered assembly. If your material is slightly thicker or thinner than the specified 3 mm, the friction fit between the backer, frame mat, and accents may fail. A loose fit results in a fragile frame that falls apart during handling, while an overly tight fit can cause warping or breakage during assembly.
To avoid this, always run a material test before committing to your final cut. Different brands of plywood have varying densities and glue compositions, which affect how the laser interacts with the surface. For instance, birch plywood typically offers cleaner edges than pine, but it may require different power and speed settings. Check the included PDF guide for baseline settings, but adjust based on your specific machine’s calibration. If you are using a Cricut® or Silhouette® for score cutting, ensure your blade depth is adjusted correctly to create a crisp fold line without cutting through the material entirely.
The Importance of Layer Organization in LightBurn
For laser cutter users, particularly those utilizing LightBurn, the color-coded layer system is not merely a suggestion—it is a critical workflow tool. The project files include specific instructions: red for cut lines, blue for score lines, and black for engraving. A common mistake is importing the SVG or DXF file and ignoring these color assignments, leading to engraved lines being cut or cut lines being scored. This error can ruin an entire sheet of material and waste hours of work.
Take time to verify your layer settings before hitting start. Ensure that the “Santa squad,” tree, and star accents are assigned to the correct operations. The optional score engrave lines should be treated with care; if your machine does not support scoring, you may need to adjust the design to use shallow engraving instead, though this will change the aesthetic. Proper layer management ensures that the 3D effect is achieved through precise depth variation, giving your photo frame the dimensional quality it deserves.
Selecting the Right Photo Layout
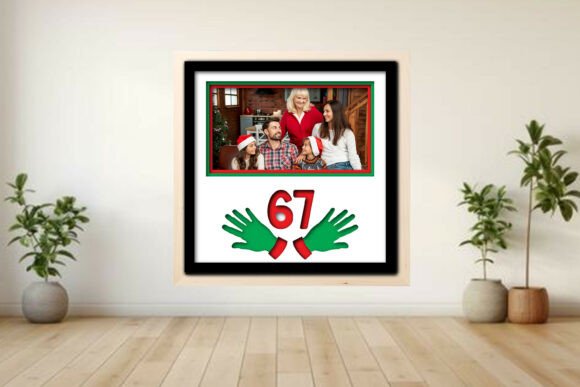
The Mostly Nice Naughty - Photo Frame Shadow offers flexibility with 1, 2, 3, or 6 photo layouts. A frequent oversight is choosing a layout that does not match the available photos or the intended display location. A six-photo grid requires high-resolution images to remain clear when reduced in size, whereas a single large photo allows for greater detail and impact. Consider the viewing distance of where the frame will hang. If it is part of a larger gallery wall, a multi-photo layout might get lost visually. Conversely, a standalone piece benefits from the boldness of a single image.
Additionally, remember that the digital download does not include photos. You must source your own images and ensure they are printed or inserted at the correct size. Measure the aperture dimensions in the SVG file before printing your photos to avoid awkward cropping or excessive white borders. Using cardstock that complements the wood tone can enhance the presentation, creating a cohesive look that ties the memory to the frame’s design.
Assembly Techniques for Durability
Even with perfect cuts, poor assembly can undermine the quality of your project. Many beginners rely solely on friction fits, assuming they will hold over time. However, changes in humidity and temperature can cause wood to expand and contract, loosening these joints. For a lasting keepsake, use a small amount of wood glue on the contact points between the backer and the frame mat. Apply the adhesive sparingly to avoid squeeze-out, which can stain the wood and interfere with the clean lines of the design.
When attaching the “Santa squad” and tree accents, consider using tweezers for precise placement. These small details contribute significantly to the whimsical character of the frame. Misaligned accents can make the design look sloppy rather than charming. Take your time during this stage, referring to the simple assembly guide PDF included in the package. Allow the glue to cure completely before hanging the frame or inserting photos to prevent shifting.
Scalability and Design Integrity
While the design is fully scalable, resizing it drastically can affect the structural balance. Enlarging the frame too much may require thicker material to maintain rigidity, while shrinking it too small can make the intricate details difficult to cut and assemble. If you choose to adjust the size, do so proportionally to maintain the aspect ratio of the photo openings and decorative elements. Test cut a small section if you are deviating significantly from the original dimensions to ensure your machine can handle the finer details at the new scale.
Furthermore, consider the weight of the finished product. A larger frame with multiple layers will be heavier, requiring more robust hanging hardware. Standard picture hooks may not suffice for a substantial wooden shadow box. Use D-rings and wire for secure mounting, especially if the frame will be displayed in a high-traffic area where it might be bumped.
Final Checks Before Cutting
Before you begin your project, review the file formats provided. The package includes SVG, DXF, PDF, EPS, PNG, and LBRN2 files. Choose the format that best suits your software and workflow. For LightBurn users, the LBRN2 file is optimized for ease of use, preserving layer colors and settings. For other platforms, SVG is generally the most reliable vector format. Ensure your software is up to date to avoid compatibility issues that could distort the design.
By paying attention to these details—material selection, layer management, layout choice, assembly technique, and scalability—you can transform the Mostly Nice Naughty - Photo Frame Shadow from a simple digital file into a cherished holiday tradition. This project is not just about cutting wood; it is about creating a tangible connection to your memories, presented with care and craftsmanship. Avoid the common shortcuts, respect the material, and enjoy the process of making something uniquely yours.